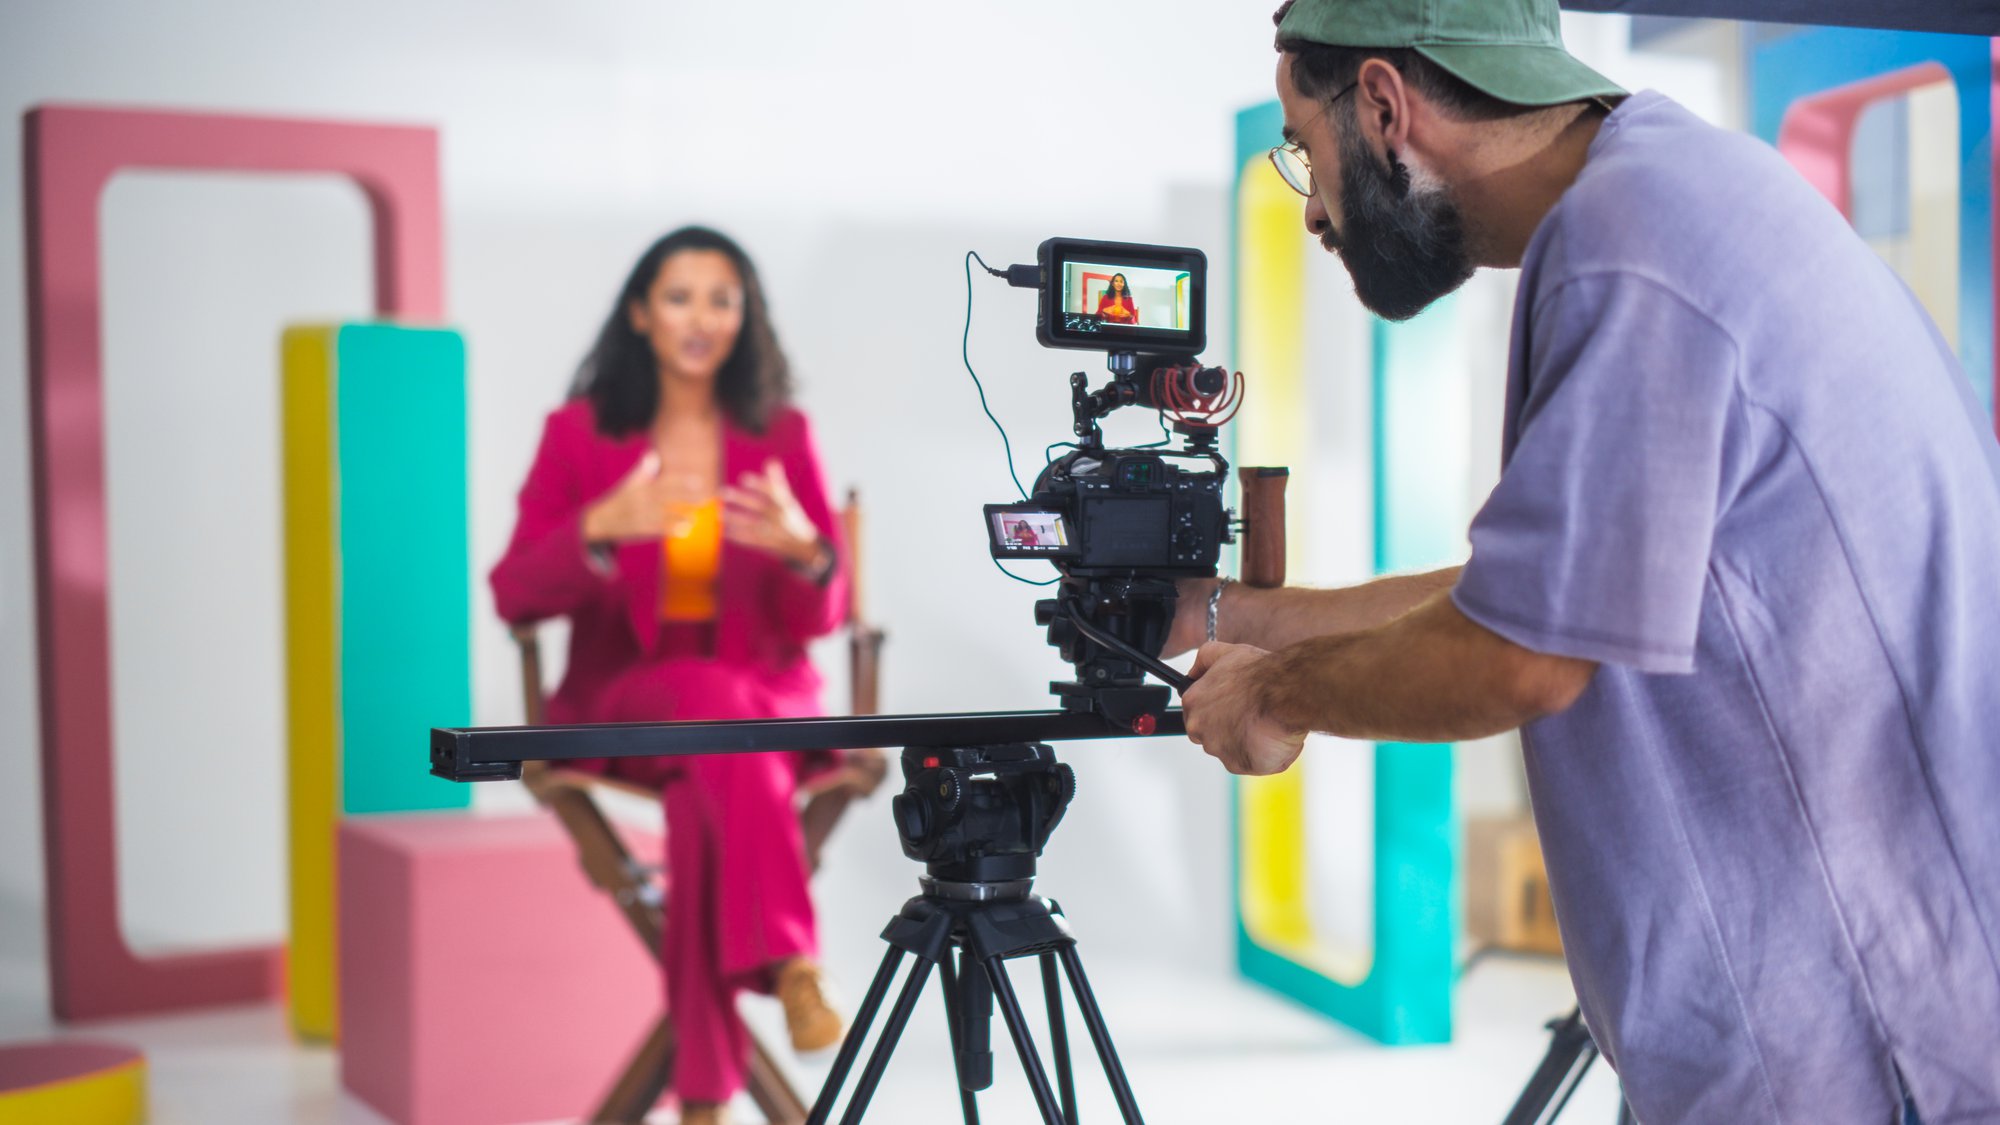
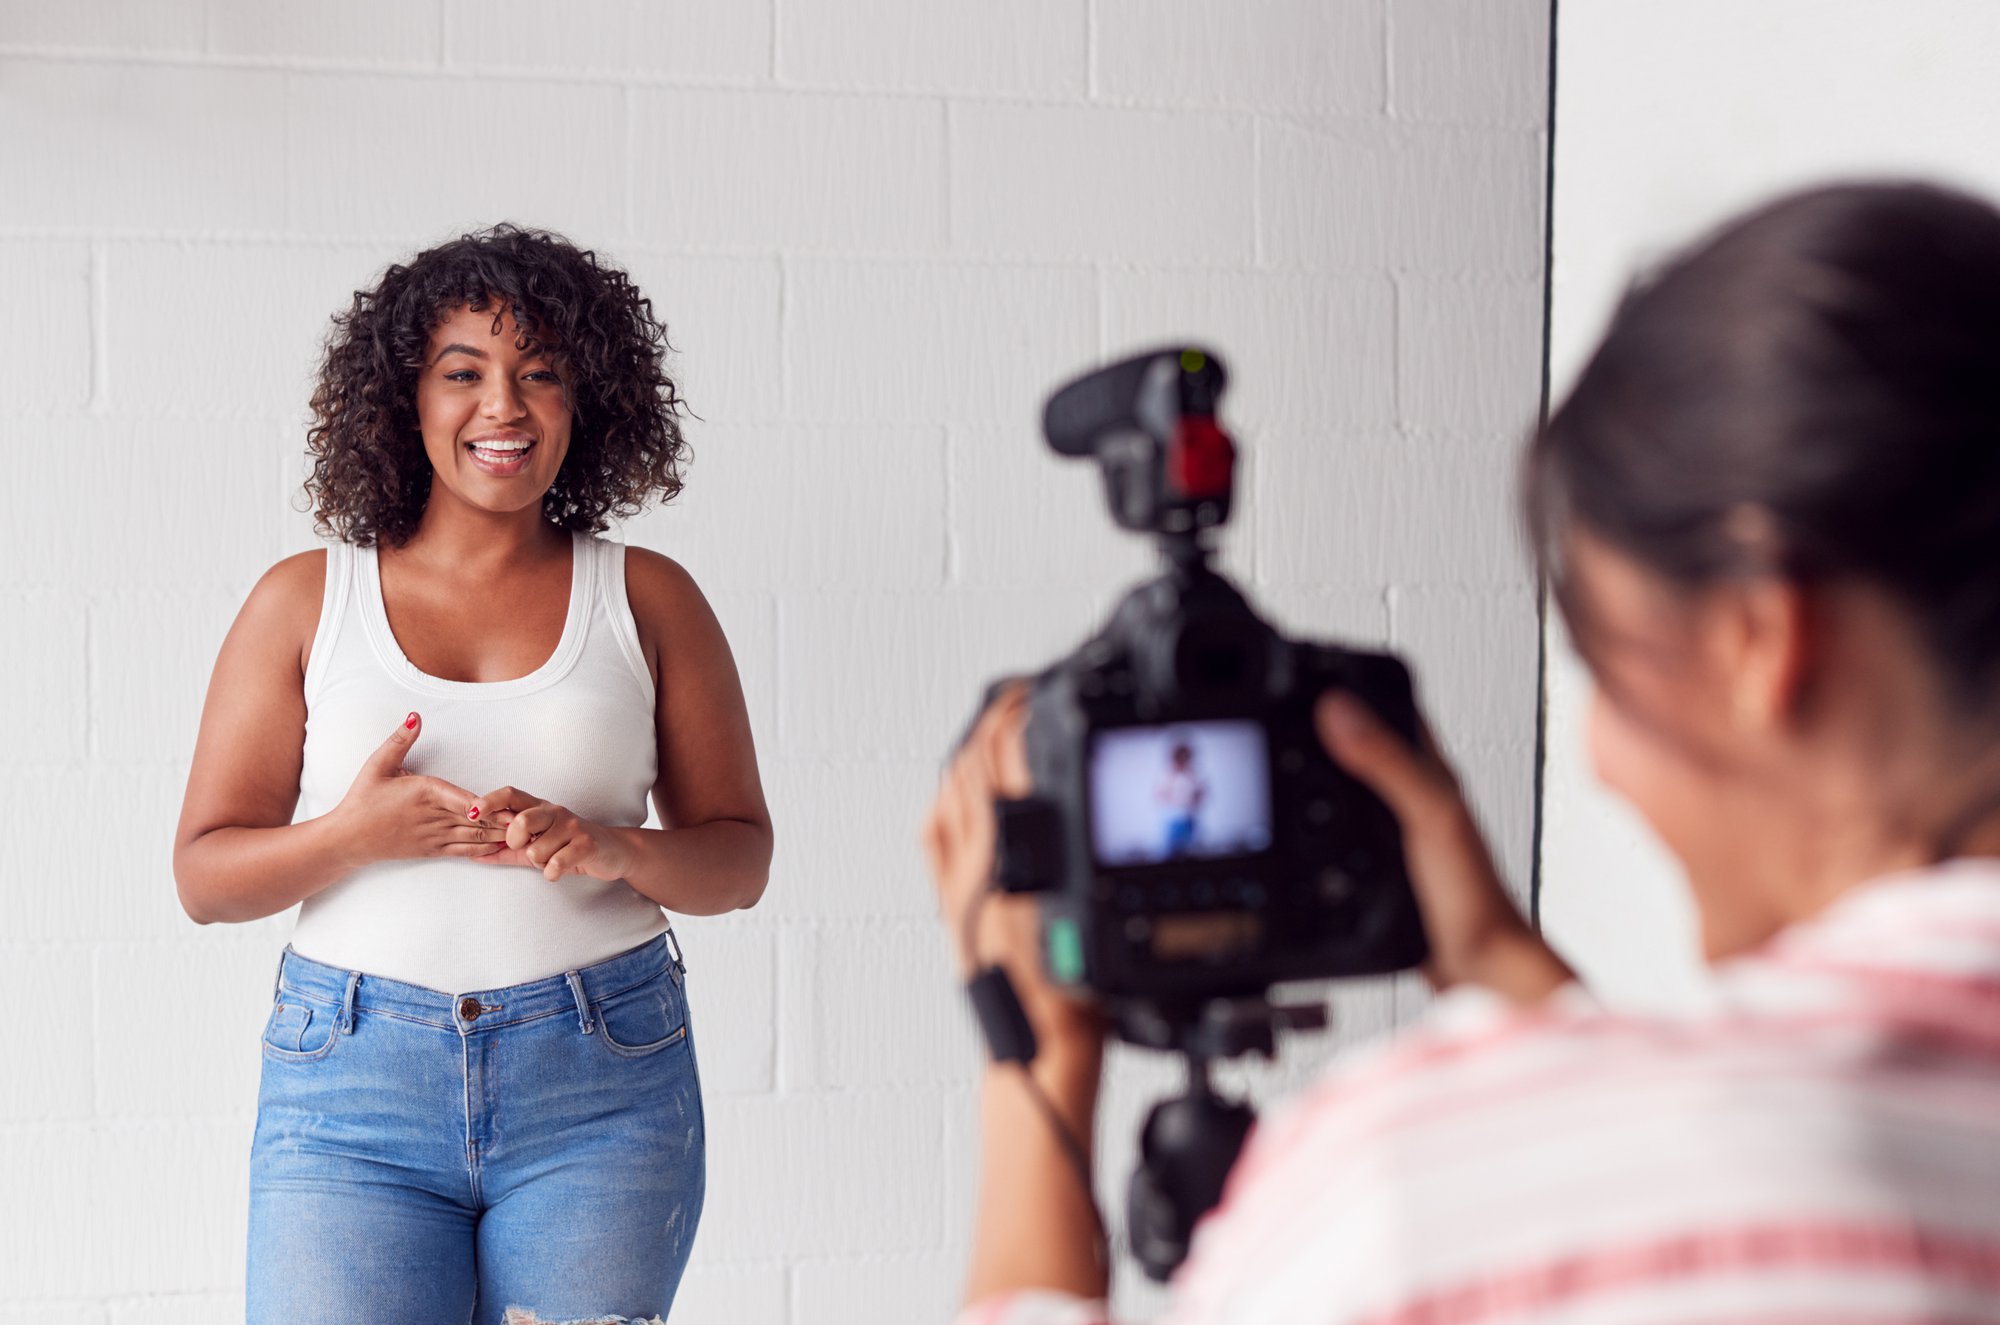
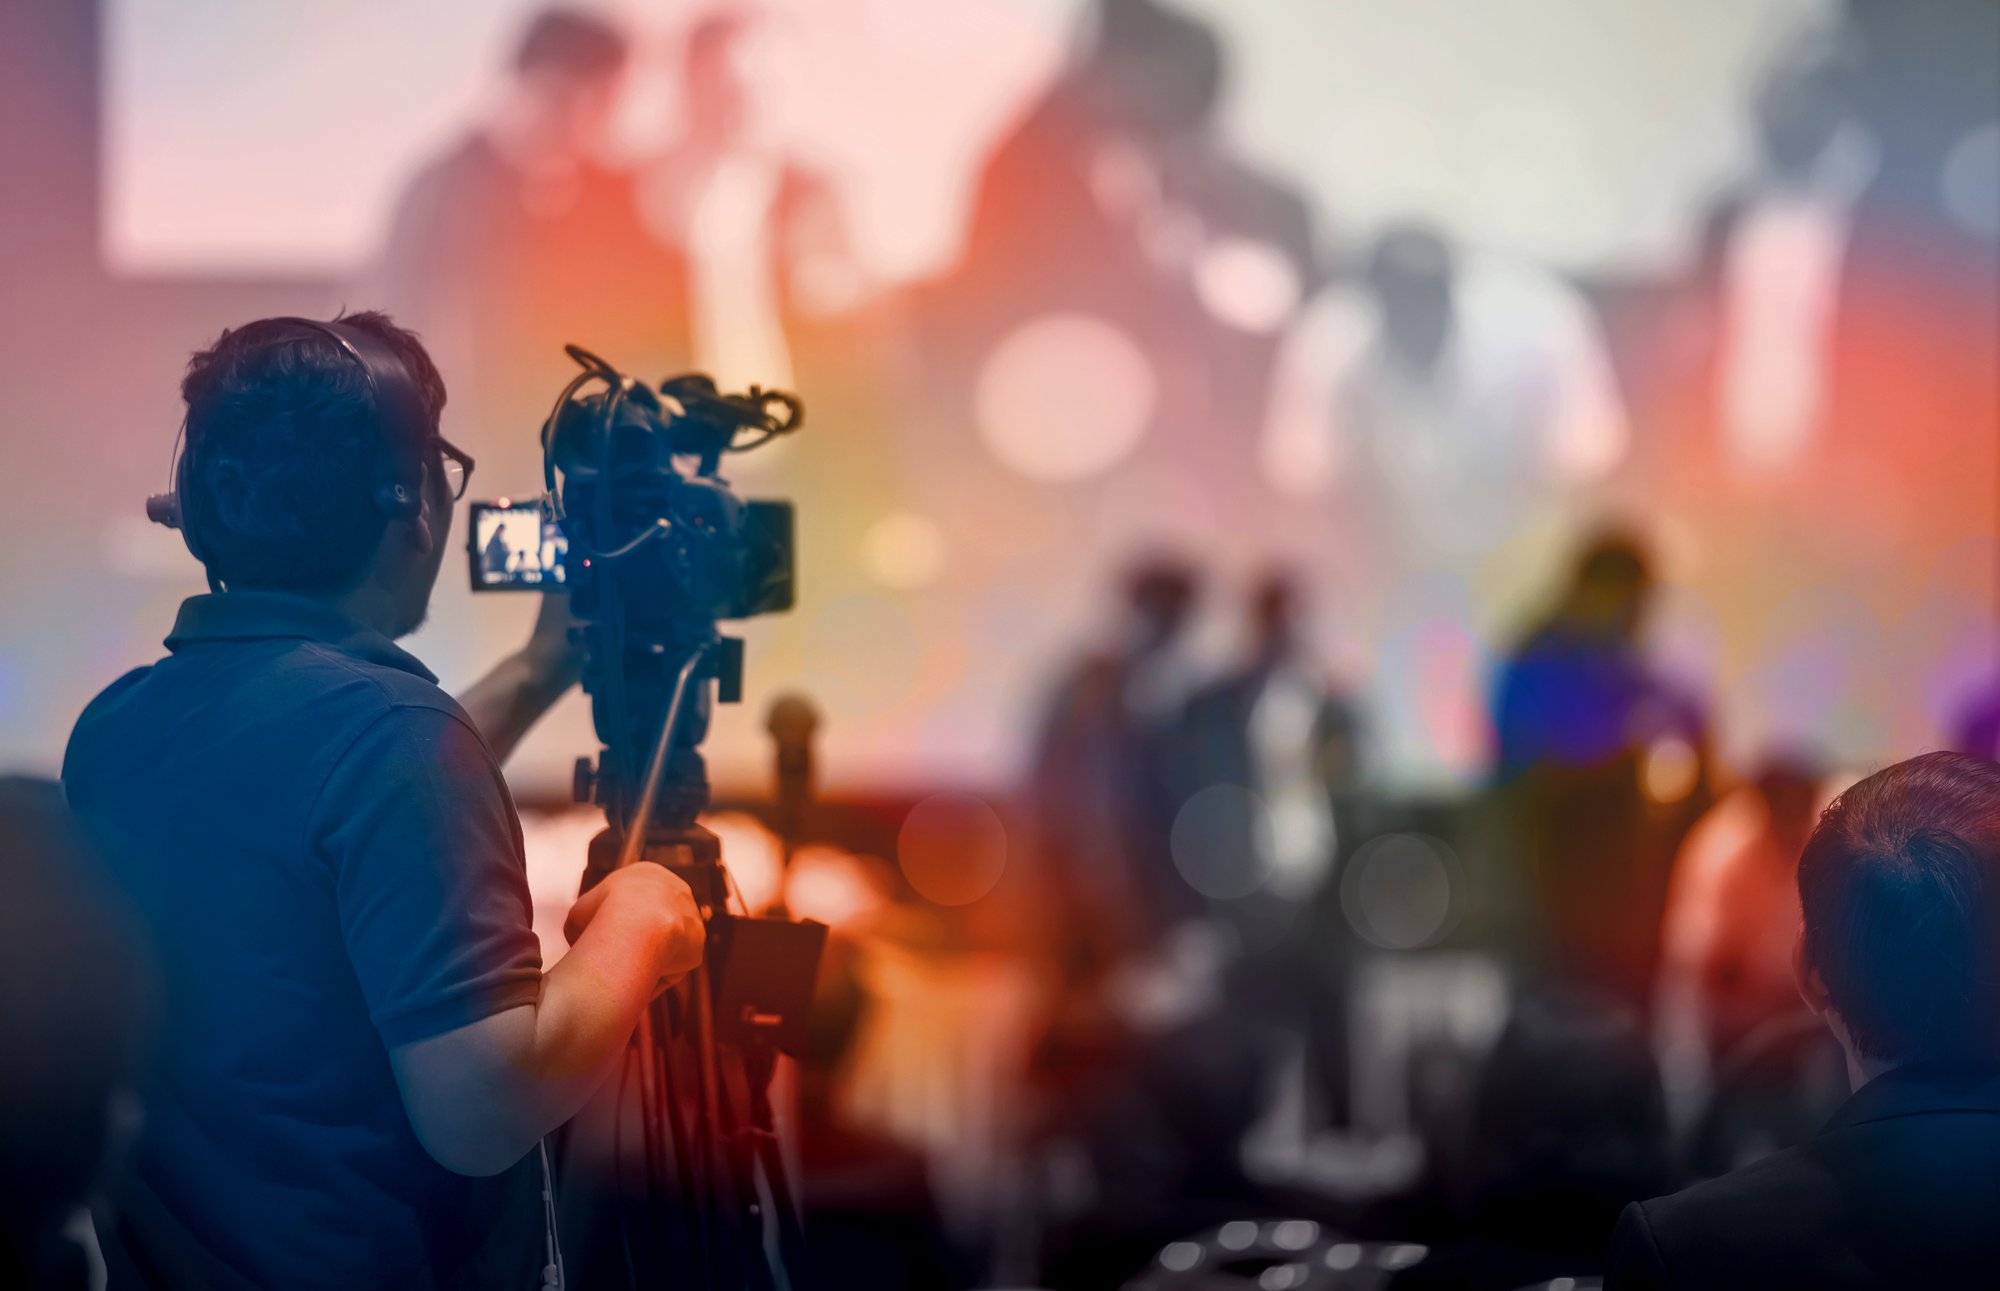
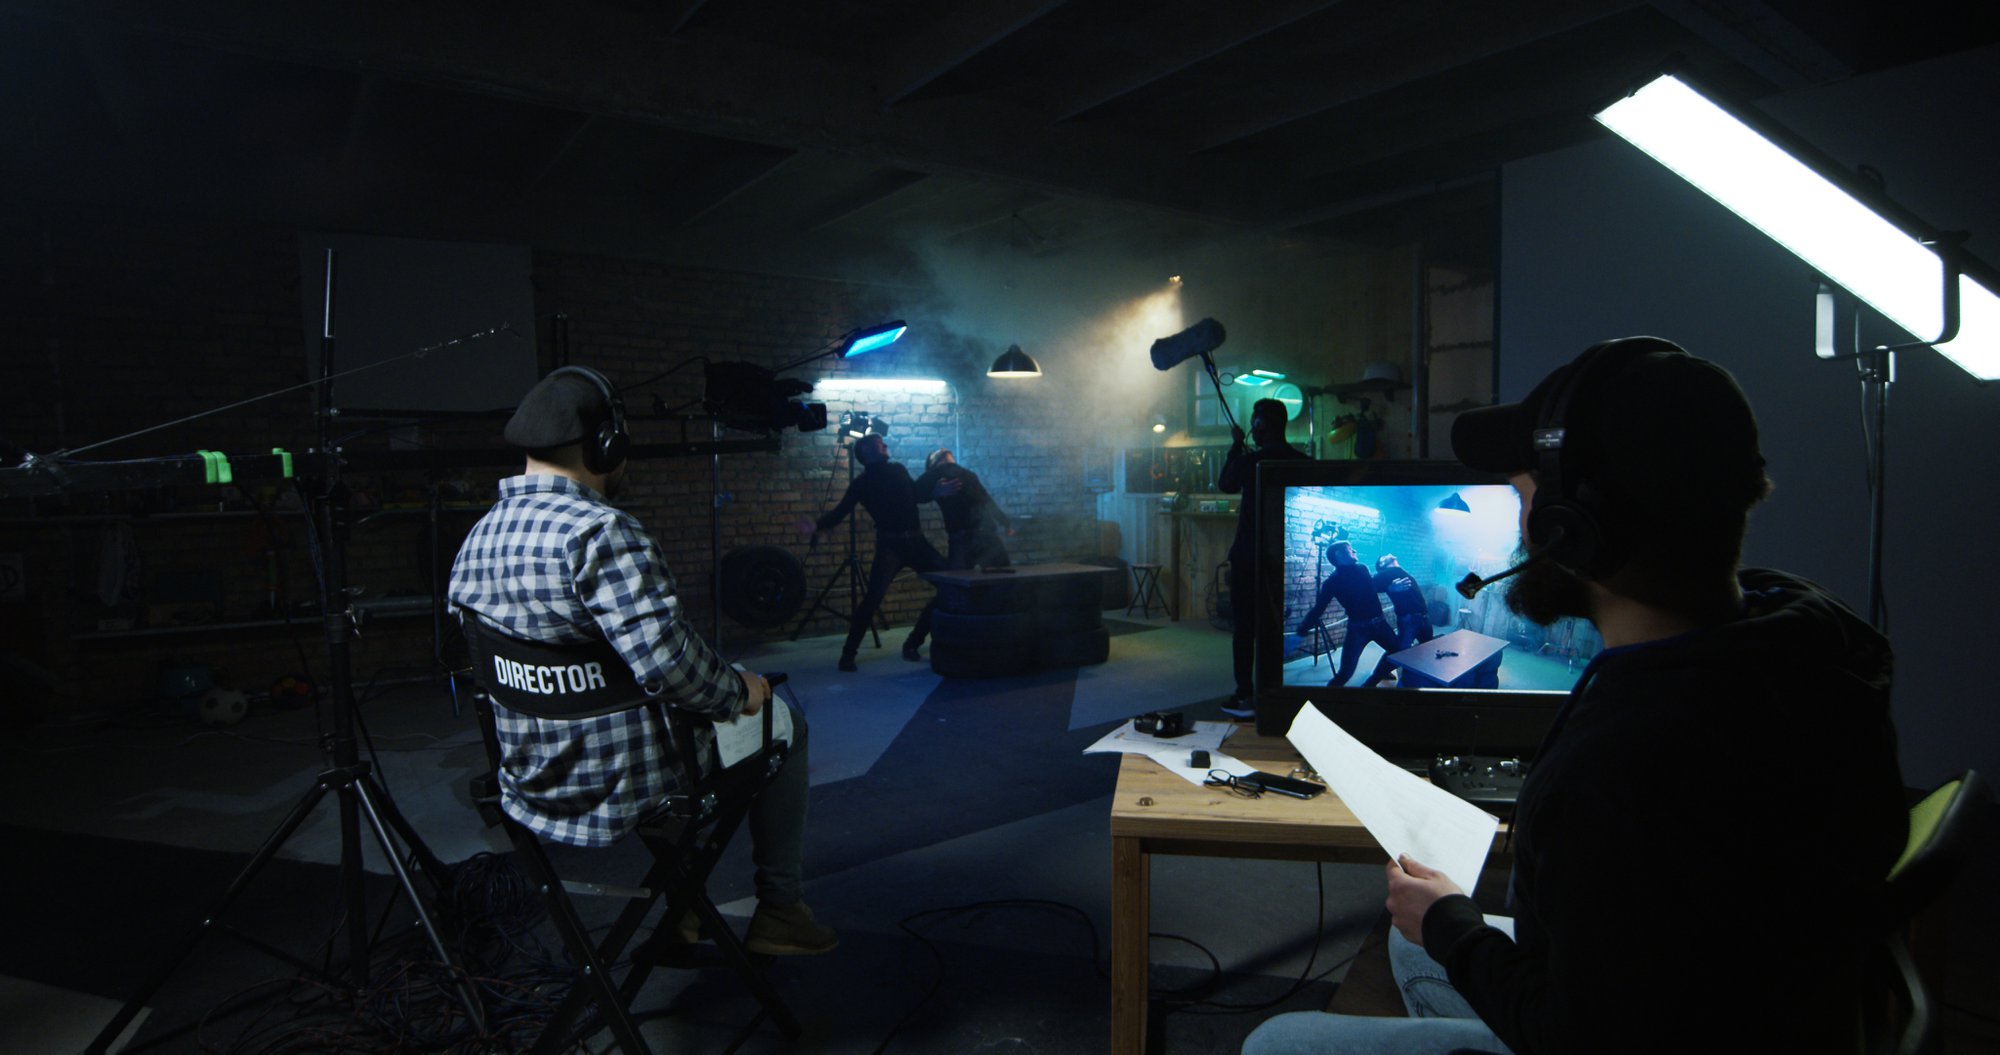
Are you ready to take your video content to the next level? Mastering your camera settings is the key to creating stunning visuals that captivate your audience. Whether you’re filming a YouTube vlog, a short film, or a commercial project, understanding how to fine-tune your camera can make all the difference.
Grasping these fundamental camera settings enhances the quality of your videos and streamlines your workflow. It can save you precious time in post-production. By getting it right in camera, you minimize the need for extensive editing and color correction later on. Let's dive into the essential camera settings you need to know to elevate your video content.
Why Camera Settings Matter for Video Quality
Camera settings are pivotal in video production. The right settings can transform a mediocre video into a professional masterpiece. They directly influence video clarity, quality, and the overall viewer experience. Properly adjusted settings ensure the footage is sharp, well-exposed, and visually appealing.
Incorrect settings can lead to poor lighting, grainy images, and unbalanced colors. These problems detract from the viewer's experience and can undermine the video's message. By mastering camera settings, you can avoid these pitfalls and produce high-quality content consistently.
Moreover, understanding camera settings allows for greater creative control. You can manipulate exposure, depth of field, and motion blur to achieve the desired visual effect, which is essential for creating videos that stand out in a competitive market.
Understanding Resolution and Frame Rate
When it comes to video production, two of the most critical settings to understand are resolution and frame rate. Resolution refers to the number of pixels that make up the video image, typically measured in width by height (e.g., 1920×1080 for Full HD).

Higher resolutions, such as 4K (3840×2160), offer more detail and clarity, making them ideal for professional projects and large displays. However, higher resolution also means larger file sizes and greater demand on your editing hardware.
Frame rate, on the other hand, refers to the number of individual frames captured per second (fps). Common frame rates include 24fps, 30fps, and 60fps. Each frame rate has its own aesthetic and practical uses. For example, 24fps is the standard for film and provides a cinematic look. On the other hand, 30fps is often used for television and online content due to its smooth motion.
Higher frame rates, like 60fps, are used for sports, video games, and fast-action scenes where fluid motion is critical. Understanding the impact of frame rate on your video's appearance and motion can help you select the best option for your specific content and audience.
Maximizing Available Resolution and Frame Rates
Combining different resolutions and frame rates can also be a powerful tool in your video production arsenal. For instance, shooting in 4K but outputting in 1080p allows you to crop and reframe shots without losing quality.
Similarly, recording at a higher frame rate can enable smooth slow-motion effects when played back at a standard frame rate. These techniques can add versatility and creativity to your projects, giving you more flexibility in post-production. However, to fully leverage their potential, it is important to ensure that your camera and editing software support these advanced features.
Lastly, always consider the final platform for your video. Different platforms have specific requirements and limitations regarding resolution and frame rate. For example, social media platforms like Instagram and TikTok favor shorter videos with lower resolutions and higher frame rates for smoother playback on mobile devices. On the other hand, streaming services like YouTube and Netflix can accommodate higher resolutions and varied frame rates, allowing for more creative freedom.
Basic Camera Settings To Know: Aperture, Shutter Speed, and ISO
Understanding the basic camera settings—aperture, shutter speed, and ISO—is crucial for creating high-quality videos. Aperture controls the amount of light entering the camera through the lens and is measured in f-stops.
A lower f-stop (e.g., f/2.8) allows more light and creates a shallow depth of field, resulting in a blurred background that helps your subject stand out. Conversely, a higher f-stop (e.g., f/16) lets in less light and increases the depth of field, keeping more of the scene in focus.
To maximize aperture settings, experiment with lower f-stops for portraits and close-ups to achieve that professional-looking bokeh effect, and use higher f-stops for landscapes and wide shots where you want everything in focus.

Shutter Speed
Shutter speed, measured in fractions of a second (e.g., 1/60, 1/125), determines how long the camera’s sensor is exposed to light. A faster shutter speed (like 1/1000) freezes motion, making it ideal for capturing fast-moving subjects without blur. A slower shutter speed (like 1/30) allows more light but can cause motion blur if the camera or subject moves.
For video, a common guideline is to set the shutter speed to double the frame rate (e.g., 1/50 for 24fps) to achieve natural-looking motion. To maximize shutter speed settings, use faster speeds to capture action scenes crisply. Use slower speeds for low-light environments or when you want to incorporate intentional motion blur for artistic effect.
ISO
ISO measures the camera sensor's sensitivity to light, with lower values (e.g., ISO 100) being less sensitive and higher values (e.g., ISO 3200) more sensitive. Increasing ISO can help you shoot in low-light conditions without altering aperture or shutter speed, but it also introduces digital noise, which can degrade image quality.
To maximize ISO settings, keep ISO as low as possible to maintain image clarity, increasing it only when necessary to avoid underexposure. Utilize your camera’s native ISO range for the best balance of sensitivity and noise control, and consider using noise reduction software in post-production if higher ISO settings are unavoidable.
Adjusting White Balance and Color Profiles For Your Camera Settings
White balance and color profiles are essential for accurate color representation in video production. White balance adjusts the camera's color sensitivity to match the lighting conditions, ensuring that whites appear white and other colors are true to life. Incorrect white balance can result in unnatural color casts, such as a blue or yellow tint.
To set white balance correctly, use presets like daylight, tungsten, or fluorescent based on your lighting environment. For more precision, use a white or gray card to calibrate the white balance manually. This ensures consistent color accuracy across different shots and scenes.
Color profiles, or picture profiles, further refine the video's color and contrast. Profiles like Rec. 709 or Log profiles offer different levels of color grading flexibility. Choose a profile that suits your shooting conditions and desired visual style. Properly set white balance and color profiles enhance the video's professional quality and visual appeal.
Ready To Shoot? The Right Camera Settings Can Help
Understanding basic camera settings is fundamental to producing high-quality video content. Mastering aperture, shutter speed, and ISO allows you to control exposure, capture clear images, and enhance visual storytelling. These settings empower you to control light, focus, and image clarity, ensuring your videos look visually appealing and effectively convey your message. By fine-tuning these elements, you can enhance the mood, depth, and overall impact of your footage.
Ready to optimize your video production? Consult with an expert video production team today to leverage their expertise and elevate your video projects to new heights. Take the next step toward creating impactful videos that captivate your audience—connect with professionals who can help you achieve your vision.